![]()
![]()
![]()
![]()
![]()
![]()
![]()
![]()
![]()
![]()
![]()
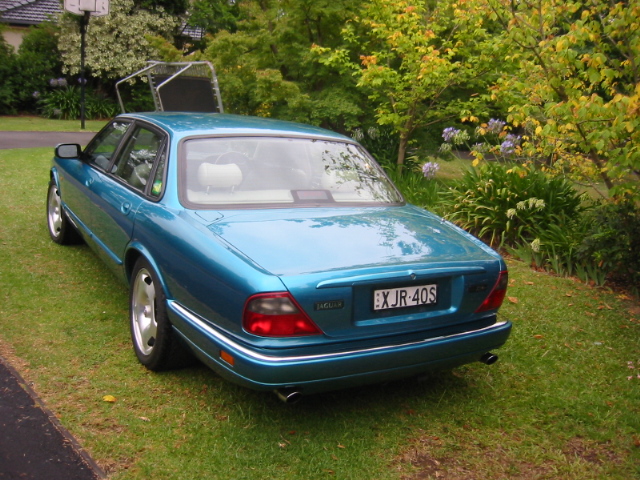
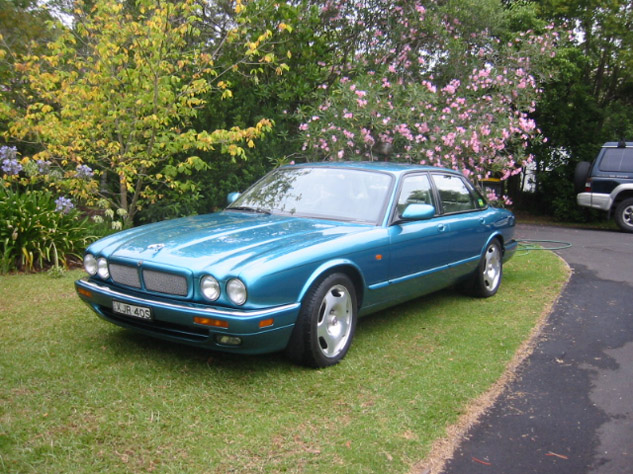
XJR
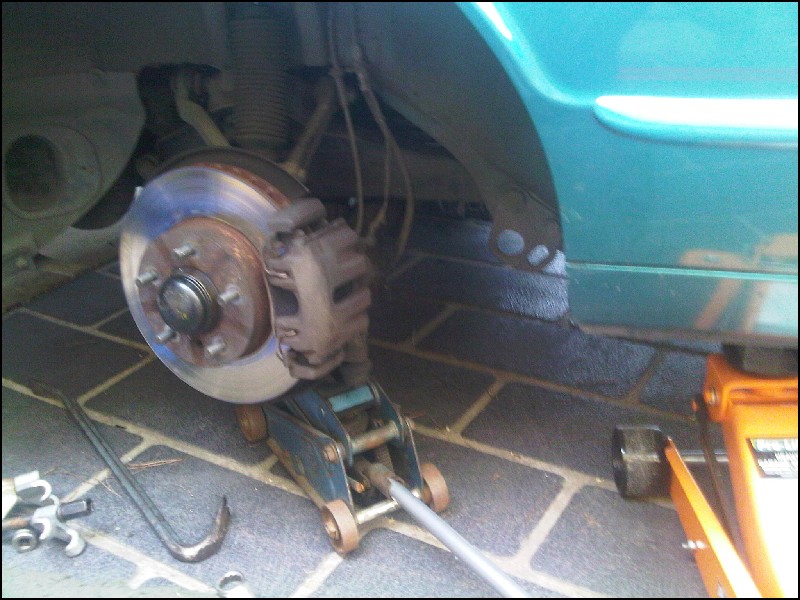
14/1/12 After 5 or so years, I thought I might add something to this dead site..! I guess I'm fortunate I haven't had to do too much to the car. I did do a rear wheel bearing last year, but didn't take any pics,(but have the other side to do yet..) but thought I'd take a few this time when I did the suspension bush. I found out I needed one when I got a couple of new tires and they couldn't do an alignment as the front top. rear bush needed replacing I was told. I jacked the car up and after moving the wheel vigorously could feel some play there. Ordered a bush online from Prestige in Melbourne, $40 odd, and put it aside waiting for a suitable time to do it... After buying a $100 6 ton press for myself for Christmas and borrowing my son's coil spring compressors I jacked the car up this morning and got stuck in, as it had dropped below 30 degrees C for the day.
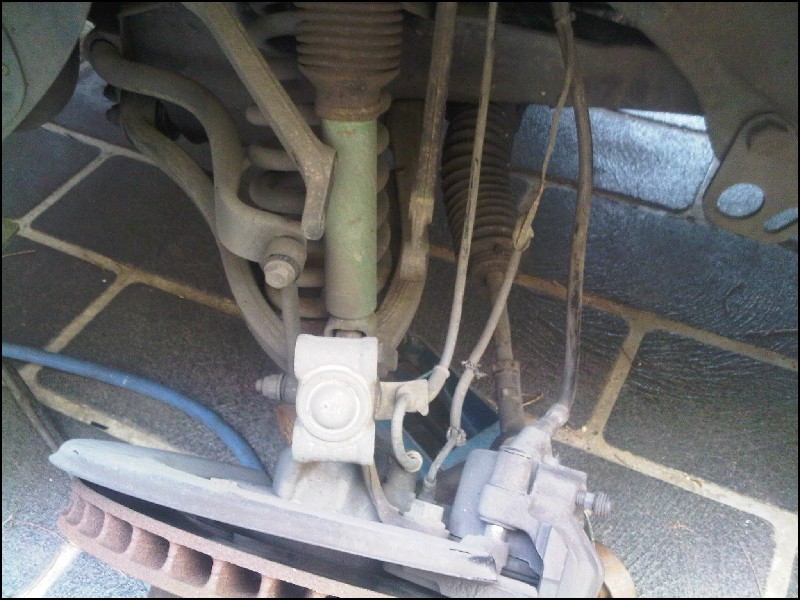
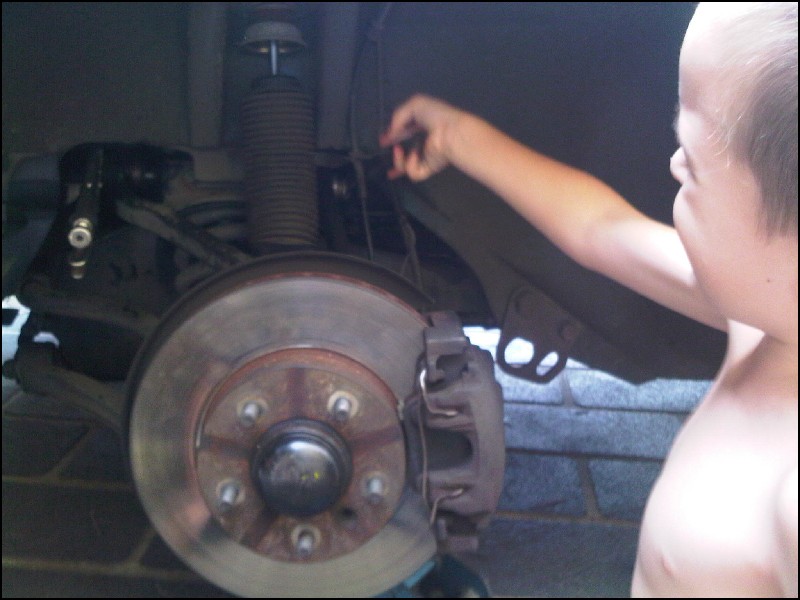
The offending bush is the one behind the cables .. I was told I'd need a spring compressor, but a jack under it worked a lot easier, as would a brick or two...
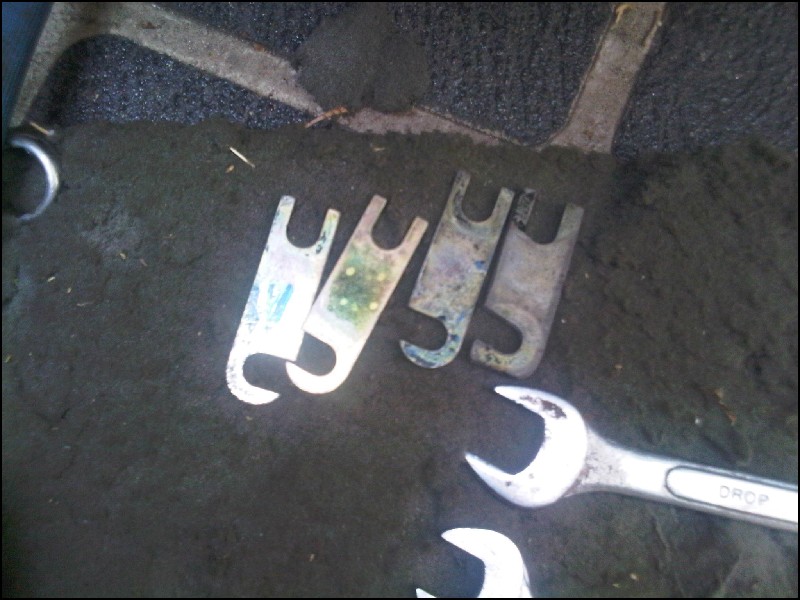
Pulled the two bolts out of the top ball joint, (15mm spanner) after counting where the spacers were, in my case they were all on the LHS
This is them, plus the one I found later that fallen into the jack...
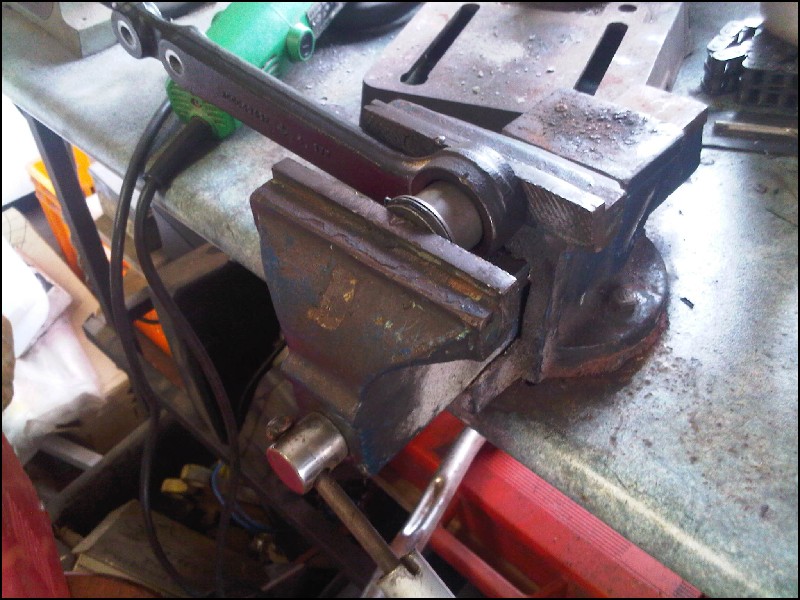
After removing the top end nut, 3/4" spanner, 7/8" the other end, I had the arm off and ready to press the bush out with my not so fantastic press that wanted to rebound every time I pulled the handle...crappy valve seal I think, a pair of pliers on it and it was just ok...
The shape of the arm is problematic in getting a solid surface to push on, I ended up welding two blocks to the base of the press so it couldn't go anywhere

I found a socket that was pretty much the right size, and after a bit of fiddling pressed it about 3/4 of the way out then it knocked out by hand.
It was easier to use a vice to start the new bush into the arm, and then I finished it off with the press, when it got too hard..
Putting it all back together wasn't as easy as I'd hoped, After attaching the top bolt and putting in one at the ball joint end, the other ball joint bolt was half a hole out..
It took me about 1/2 and hour to realise I needed to back the top bolt back out again, put both in at the ball joint then put the top bolt in.... car must be a bit twisted I guess...
Having done that and employing some slave labour when my back said enough for a while, it was easy going, and we got it all back together...
Hopefully now I can get an alignment...
Jan 2010 .Yee gods I hadn't even looked at this page for 3 or more years....in that time the car has performed well and I've put on a modest 25,000 kms. The car now has 262500kms and still performs well. Oil usage is now minimal after fixing a couple of oil leaks mentioned below.
AC Repair
I had to replace the AC comp a few months ago, and its probably worth detailing the procedure here. As it happens the AC compressor itself was fine but the clutch on the front end of it had basically disintegrated. I think this was due to the bearing just wearing out, and then all the associated heat cooking the windings.
I tried to price replacing just the clutch, but without visiting any AC specialists, just searching eBay etc, that seemed like it was going to be a fruitless task.
Given that the comp was original to my knowledge who's to say it wouldn't die as soon as I replaced the clutch any way. So I opted to find a complete new or reconditioned unit.
I found a remanufactured one on Ebay for US$150, and $40 shipping I think it was, to me here in Sydney.
The other component I was advised to replace was the dryer. This proved a little more troublesome as the internet advertised one I found on a specialty AC site in the US apparently had the wrong price attached, and after sending what they'd asked for I had to cough up a few more bucks, but it only ended up being the same price as what I could get one for locally, and I didn't have to leave the house...
Removing the compressor wasn't much fun. After putting the front of the car on ramps, it was an unpleasant crawl underneath. At the time the car had an oil leak or two, and everything was pretty black and nasty. I used this time to find the two leaks as it turned out, and managed to fix them by tightening a couple of bolts. I've since pressure washed under the car and what a difference that makes.
You need to remove the hoses from the compressor after having any gas removed from the system. I wont say what I did. There is a bolt for each hose, accessible from the top side in the engine bay.
There is also one cable that supplies power to the clutch to be removed, unclipping the connector from above.
The belt, if still intact , needs removing next. If it looks like it needs replacing just cut it off. Otherwise you need to remove the alternator drive belt first. To do this you need to loosen off the bolt securing the idler/tensioner pulley first ,then loosening the tensioner located adjacent to the RH cam cover.
You need a 1/4" square tool to undo the tensioner . The rear end of any 1/4" drive socket works well, you just need to find something to fit the other end, such as an appropriately sized t style Allen key. After this belt is removed you can loosen the tensioner for the AC belt from underneath the car.
The comp is held on by 4 x120mm (5 inch) odd long bolts, the heads of which are accessible with an open ender , but they're pretty tight so a socket (1/2" from memory) with a short extension and an air or ordinary ratchet makes things easier. Its a heavy unit so keep your face out of the way when the last bolt comes out.
I'd recommend a helper supporting from above, or a cable lashed round it to stop it falling far.
The dryer is located underneath the top rail above the radiator (s) There are about 8 torx headed bolts securing this, and I only had to drill off the top of one to remove the plate then remove the dryer....
Id been told I needed to replace all the o-rings in the system, however sourcing these , when you don't know the sizes as such, is a mission impossible.
After talking to a helpful Auto AC bloke at a local-ish business, I opted to let him replace them if he deemed it necessary when he regassed the car. As it happened they all looked like new, even after 15 years, so I bolted everything back together without snugging anything down too tight and took the car to the AC guy like that. He reckoned if they looked all right, they'll be all right, and so far so good....
The regassing cost $125, the comp $200 odd and the dryer $125 , so for $450 its working well again. Well worth the personal effort considering the money I saved.
While I was under the car I also investigated a slightly noisy manifold and found I was missing two nuts from the bolts securing one of the downpipe manifolds! The other side were fairly loose also. After removing one of the remaining nuts so I could see the thread size, and finding a couple of replacements after tightening it all back up again it sounded fine again. I'd recommend checking these for tightness any time you're under the car...